|
|
Setup - Imports
The import function in Picture-Directory Online, if you have GEFC Directory(GEFCD) 2.2 installed,
allows you to migrate your data from that database to the Online directory.
You must download an update from the Picture-Directory.com web site for the import function to work.
- Go to Picture-Directory.com.
- Choose Downloads.
- Select the appropriate download based on whether you have GEFC Directory installed or not and what version
you have installed.
- Click on the download icon and follow the instructions.
This download updates your existing GEFCD software to enable the export function.
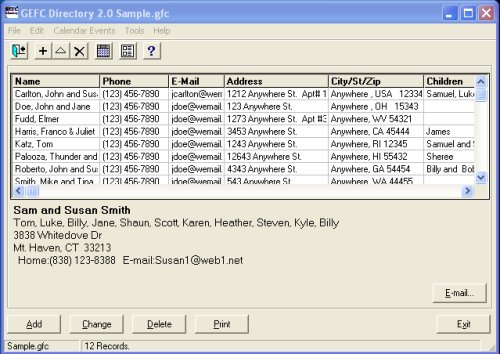
The following screen displays typical data for GEFCD.
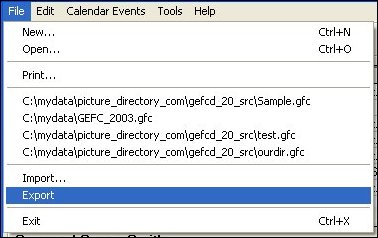
When you click on file, select the export function.
The following screen will appear.
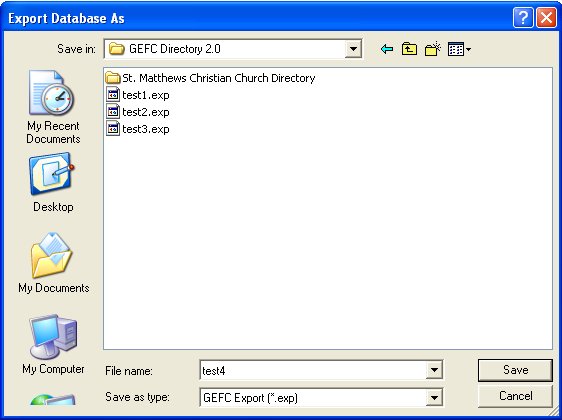
Enter an export file name, such in this example test4. An export file of all of your data,
except for any pictures, is created in your folder, GEFC Directory 2.0.
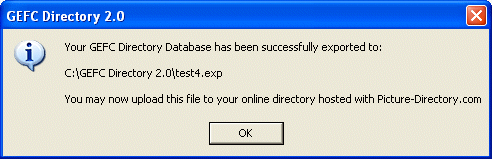
Then you should login to
your directory and go to the setup function and choose the tab Import.
You will see the following screen.
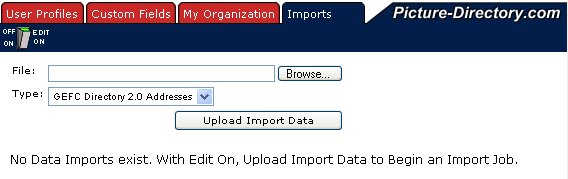
Click on the Browse button and choose your exported file in the GEFC folder.
The following is an example.
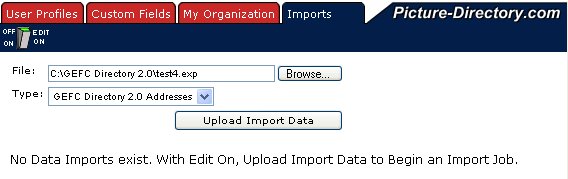
When you click on the Upload Import Data button, the data is uploaded to the Picture-Directory.com server:
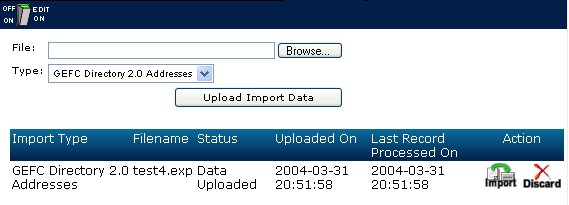
Click on the  icon and the data will appear, such as the following: icon and the data will appear, such as the following:

On the right column is the imported data from GEFC. The left column is the data on the
Online directory database. You must now choose want you want to do with this GEFC data.
There are three buttons you can use to migrate the GEFC data.
In record 4 of the sequence your options are to skip this record (i.e. not put it into the Online Directory)
or insert/add it into the Online Directory. In the above example this is for Thunder and Edith Palooza.
In record 5 of the sequence there is another option of Update. The Online software tries to do a
match of any and all data from the GEFC upload to the existing data in the Online directory.
If you choose update, in this case, the John and Carolyn Peters record will be replaced with the Alberto & Louise
Peters record. In this example you should choose Insert since there records are apparently different even
though the software found some match in the records. The following is a screen that shows what
happens when you Insert a record.
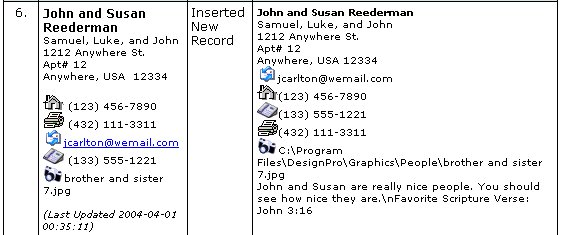
Notice the status changes to "Inserted New Record" The Import function does as much as possible to
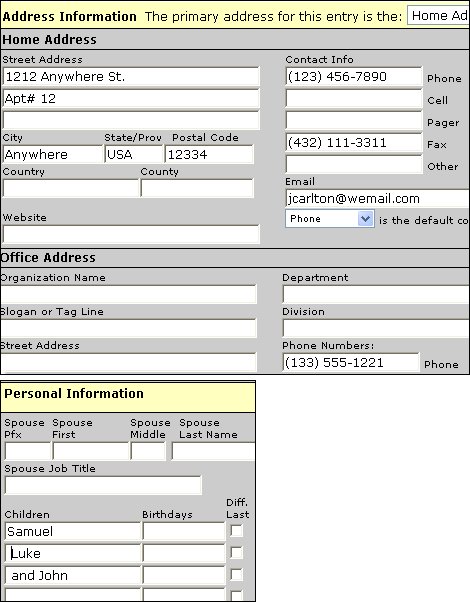
take the data from the GEFC database and store it in the proper location in the Online directory as shown in
the following two examples.
If you have pictures in the GEFC Directory and you want to use them in the Online Directory, you must
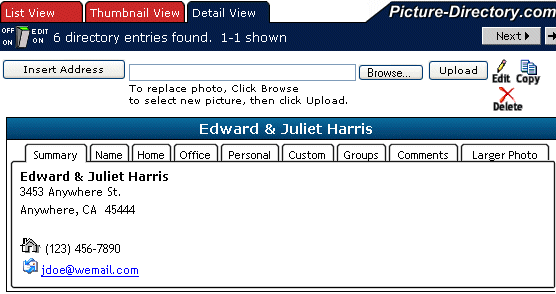
upload them into the Online Directory database. Go to the Address function and you will get
the following screen.
When you click on the Browse button you must then point to the location (folder) where you
have stored you pictures such as the following:
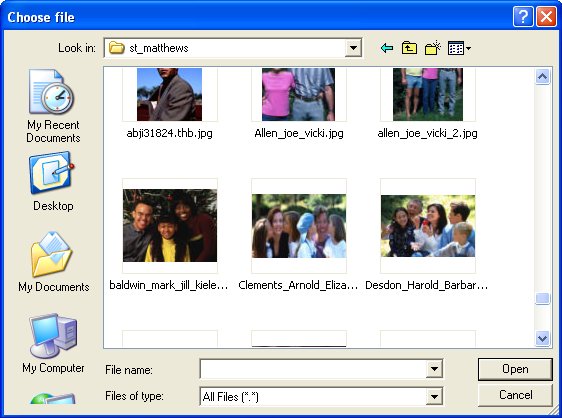
When you highlight the proper picture and click on open you will get the following screen.

When you click the Upload button you will see the following screen.
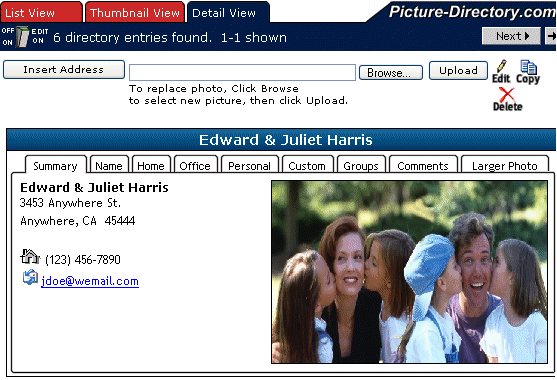
You have now completed the process for uploading the data and uploading one picture.
For the remaining individuals/families picture you must do one at a time.
|
We are making a number of updates to PD Online™.
Some sections need updated to describe these new and enhanced features.
|